How to Fix 0x1000007e Error on Windows?
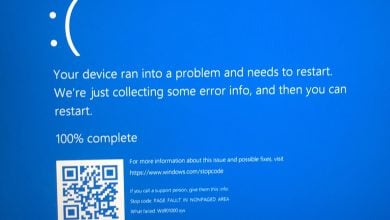
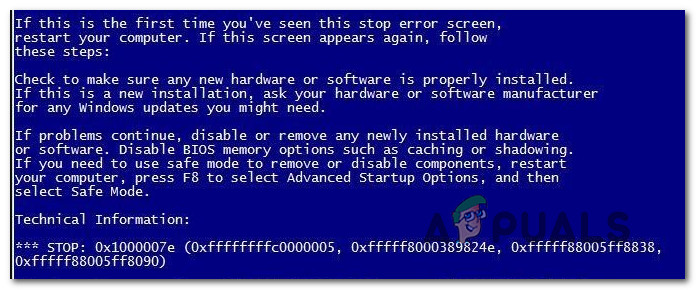
Several Windows users have been seeing BSOD critical crashes with the error code 0x1000007e. Most affected users are reporting that for them, the issue seems to occur randomly with no apparent trigger. What’s even more annoying is the fact that they encounter the critical crash just minutes after they start their PC. As it turns out, the issue is not exclusive to a certain Windows version since it’s encountered on Windows 7, Windows 8.1 and Windows 10.
What’s causing the Error code 0x1000007e?
We investigated this particular error code by looking into various user reports and analyzing the various fixes that are recommended by other users that also encountered this issue. As it turns out, several different causes might trigger the 0x1000007e error. Here’s a list of culprits that might be responsible for the random BSODs:
- Silverlight version is outdated – As it turns out, this particular crash can occur due to a severely outdated Silverlight version. Fortunately, Microsoft has released a hotfix for the issue, that resolves the issue by installing the latest stable version. To take advantage of the fix, you’ll need to install every pending update since it’s included in one of the Cumulative updates.
- 3rd party AV conflict – According to various user reports, this problem can also arise due to a conflict between an overprotective antivirus suite and a Kernel process. In situations like this one, the easiest way to resolve the issue is to simply move away from the AV suite that’s causing the problem and revert to the default security suite (Windows Defender).
- System File Corruption – Another potential scenario in which this error code will occur is system file corruption. If certain Windows become affected by corruption, it might end up triggering general system instability which might trigger BSODs of this kind. In this case, you should be able to resolve the issue by running a couple of utilities capable of resolving OS corruption issues (DISM and SFC).
- 3rd Party Service interference – It’s also possible that some kind of startup service or process is interfering with an operating system component, which ends up crashing the system when certain circumstances are met. If this scenario is applicable, you can resolve the issue by achieving a clean boot state and identifying the process that is causing the problem.
- Underlying System File Corruption – In some rare cases, the corruption that ens up triggering this error code is so severe that it cannot be resolved conventionally. In situations like this one, the only viable fix is to reset every OS component or rever them to a healthy point in time. To do this, you can either use a viable system restore point or you can go for a repair install or clean install.
- Hardware-related issues – Several users have confirmed that this particular error code can also occur due to some hardware-issues that are contributing to the general instability of the system. In this case, the only viable fix is to test out the various components to find out the culprits or to take your PC directly to a certified technician.
If you’re currently struggling to find a way that will resolve the 0x1000007e error and allow you to use your computer normally without the annoying BSODs, this article will provide you with troubleshooting strategies. Down below, you’ll find a selection of repair strategies that have been confirmed to be effective by other affected users finding themselves in a similar situation.
For the best results, we advise you to follow the potential fixes below in the same order that we arranged them in (via efficiency and difficulty). Eventually, you will stumble upon a method that will be applicable regardless of the scenario in which you’re encountering the issue.
Let’s begin!
Method 1: Install every pending Windows Update
As it turns out, one particular reason that will cause BSOD crashes with the 0x1000007e error code is a scenario in which the latest Silverlight version is not installed on the affected machine. This is odd considering that Silverlight is on it’s way out as new tech is slowly replacing it, but it seems like Microsoft has already released an update that fixes an instability caused by an older version.
To take advantage of the fix, you’ll need to install every pending update that Windows has lined up for you (Critical and Non-Critical).
Several users that were also encountering this problem have reported that the issue was resolved after they installed every pending update and restarting their computer.
Here’s a quick guide on installing every pending update on your Windows computer:
Note: This guide will work regardless of the Windows version that you’re using.
- Press Windows key + R to open up a Run dialog box. Next, type “ms-settings:windowsupdate” inside the text box and press Enter to open up the Windows Update tab of the Settings app.
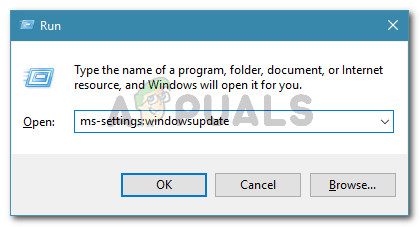
Run dialog: ms-settings:windowsupdate Note: If you’re not using Windows 10, type “wuapp” instead of “ms-settings:windowsupdate”.
- Once you’re inside the Windows Update screen, move over to the right-hand pane and click on Check for updates, then follow the on-screen prompts to install every pending update.
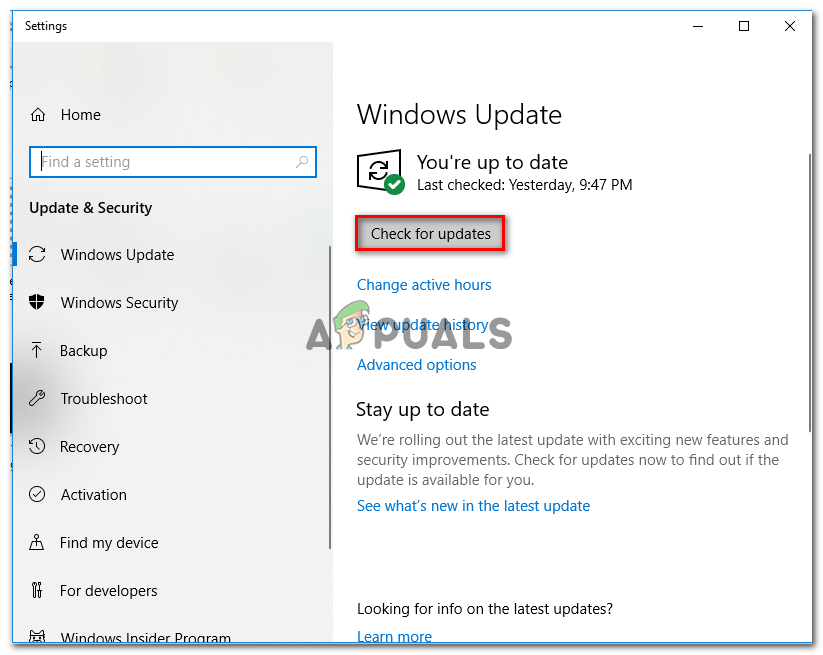
Installing every pending Windows update Note: If during the procedure of installing the pending updates you are prompted to restart, do so, but make sure to return to this same screen at the next startup sequence to ensure that you install every update.
- After each Windows update is installed, restart your computer once again and see if the issue is resolved by looking out for a 0x1000007e BSOD once the next startup sequence is complete.
If the same critical error is still occurring, move down to the next method below.
Method 2: Uninstalling 3rd party security suite (if applicable)
As it turns out, the 0x1000007e error can also occur due to a conflict between a 3rd party security suite and a Kernel process. We have managed to identify several user reports blaming Comodo AV for this issue, but there might be other suites triggering the same behavior.
If this scenario is applicable and you’re using a 3rd party security suite, you should disable the real-time protection of your antivirus and see if the issue stops occurring. But to ensure that your 3rd party AV suite has no role in the apparition of the annoying BSODs, you’ll need to uninstall the security program and remove any remnant files.
But first, start by disabling the real-time protection – This procedure is different across the various 3rd party AV suites, but you are typically able to do so via the dedicated taskbar menu.

Leave the real-time protection disabled for a while and see if the issue is still occurring. If it is, try uninstalling the security program altogether and remove any remnant files that can still cause this problem. In case you decide to go this route, follow this article (here) for step by step instructions on uninstalling 3rd party security suites & removing all remnant files.
If this method wasn’t applicable or you’ve done this and the BSOD critical crash is still occurring, move down to the next method below.
Method 3: Resolving System File Corruption
In most documented cases, the 0x1000007e error occurs due to some kind of system file corruption that ends up crashing some critical component that in its turn triggers system instability. Some affected users that found themselves in a similar situation have reported that they finally managed to take care of the issue by running a series of utilities capable of fixing logical errors and system file corruption.
We recommend to avoid using 3rd party solutions and stick to the repair tools offered by Microsoft – DISM and SFC. Both DISM (Deployment Image Servicing and Management) and SFC (System File Checker) are equipped to deal with corrupted system files, but they go about this task differently.
DISM is a more modern tool that relies on the WU (Windows Update) component to replace corrupted instances with healthy copies, while SFC doesn’t need an Internet connection since it uses a locally stored archive to deal with corrupted system files.
IMPORTANT: We highly recommend that you run both utilities to make sure that you maximize your chances of fixing your system file problem.
Here’s a quick guide on running both scans to resolve the system file corruption and resolve the 0x1000007e error:
- Press Windows key + R to open up a Run dialog box. Then, type “cmd” inside the text box and press Ctrl + Shift + Enter to open up a Command Prompt with admin access. When you see the UAC (User Account Prompt), click Yes to grant administrative access.

Running Command Prompt - Once you manage to get inside the elevated Command Prompt, type the following command and press Enter to initiate an SFC scan:
sfc /scannow
Note: Once you start this process, DO NOT interrupt (by closing the CMD window or restarting your computer) it until the operation is finished. Doing this might produce additional logical errors that might cause further problems on your PC.
- Once the SFC scan is complete, close the elevated CMD window and restart your computer. During the next startup, wait until your OS is fully loaded, then follow step 1 again to open up another elevated CMD. After you’ve done this, type the following commands and press Enter after each command to initiate a DISM scan:
Dism.exe /online /cleanup-image /scanhealth
Dism.exe /online /cleanup-image /restorehealth
Note: Before you initiate the DISM scan, make sure you have a stable connection to the Internet, otherwise the utility won’t be able to download the fresh copies needed to replace the corruption. The first command (scanhealth) will scan for inconsistencies while the second (restorehealth) will fix any type of corruption that is found.
- Once the DISM scan is complete, restart your computer once again and see if the issue is resolved at the next system startup.
If you’re still encountering random BSOD crashes with the 0x1000007e error, move down to the next method below.
Method 4: Achieving a Clean Boot State
If you’re performed the steps appropriated to cleaning your system free of corruption and you’re still encountering the 0x1000007e error, some kind of 3rd party service or process is likely interfering with an OS component, which ends up crashing the system under certain circumstances.
Some affected users have blamed a 3rd party security suite, while others have singled a partitioning software for causing this issue. Since we can’t possibly cover every application that might trigger this 0x1000007e BSOD, the best course of action would be to configure your computer to start in a clean boot state.
This will prevent any 3rd party startup service or process from running, effectively preventing a BSOD crash caused by 3rd party interference. If the crash doesn’t occur while your system clean boots, it’s clear that some 3rd party program was previously causing the annoying BSODs.
Follow the instructions below to achieve a clean boot state and then identify the 3rd party program that was causing the 0x1000007e error:
- Open up a Run dialog box by pressing Windows key + R. Then, type “msconfig” and press Enter to open up the System Configuration menu. Once you’re at the UAC (User Account Prompt), click Yes to grant administrative privileges.
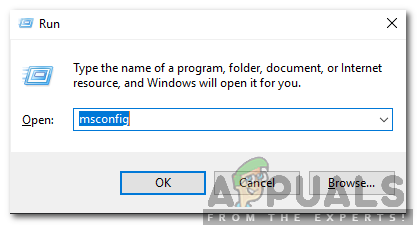
Typing msconfig in a Run box and pressing Enter - After you manage to get inside the System Configuration window, click on the Services tab from the top of the menu, then check the box associated with the “Hide all Microsoft Services” option. Once you’ve done this, all Windows services will be removed from the list, which will prevent you from mistakenly disabling a Windows service.
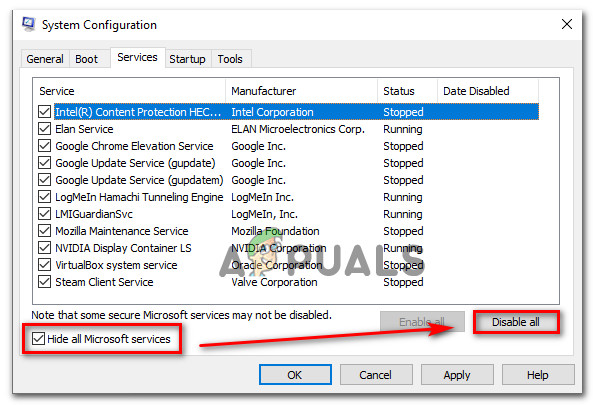
Disabling all non-Microsoft startup items - Once all Windows services are excluded from that list, click the Disable all button to effectively prevent any 3rd party services from being called into action at the next machine startup.
- After you’re done with this, select the Startup tab and click on Open Task Manager from the newly appeared menu.
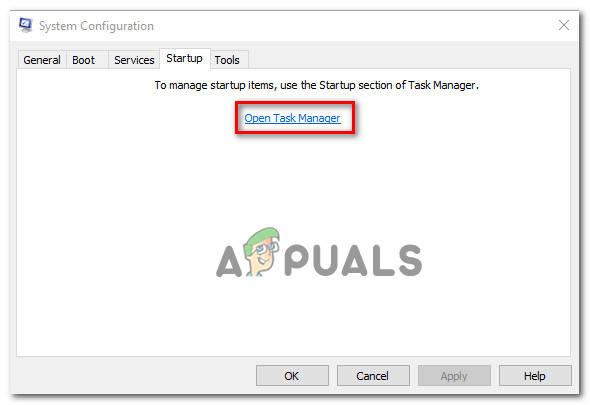
Opening the Startup items window via Task Manager - Once you’re inside the Startup tab of Task Manager, start to systematically select each startup service and then click on the Disable button at the bottom of the screen. This procedure will ensure that no startup service will get called at the next system startup.
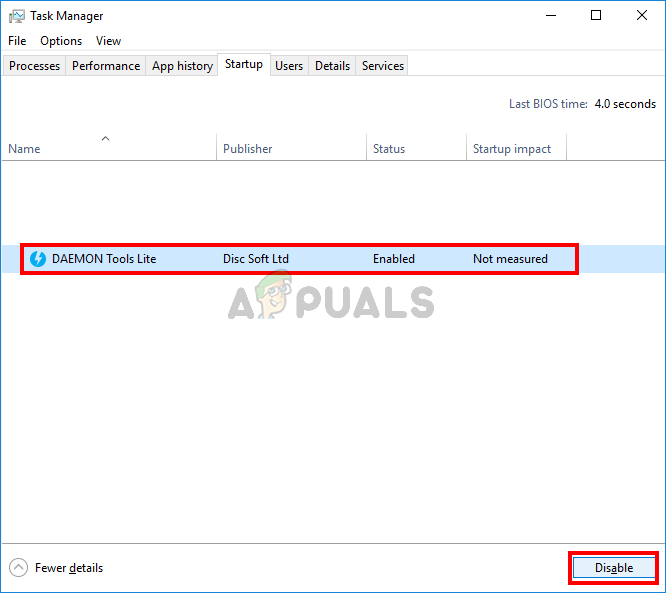
Disabling Apps from Startup - Once you’re done with the step above, you have effectively disabled every service or process that might contribute to the 0x1000007e BSOD. All that’s left to do now is to take advantage of the clean boot state by restarting your computer.
- At the next startup, your computer will boot directly into a clean boot state, which will allow you to see if a 3rd party service or process was indeed causing the problem.
- If the crash no longer happens while in clean boot, reverse engineer the steps above and re-enable the previously disabled services one by one coupled with random restarts until you figure out which item is responsible for the crash. Once you manage to discover it, leave it disabled to avoid further issues of this kind.
If you followed the instructions above and you confirmed that the issue is not occurring due to a 3rd party service or process, move down to the next method below.
Method 5: Using System Restore
If none of the methods above have allowed you to get rid of the annoying 0x1000007e BSODs and the issue only started occurring recently, you might be able to resolve the issue promptly by utilizing the System Restore utility to restore your computer back to a healthy point when the circumstances that are know causing the problem didn’t exist.
The System Restore utility utilizes a snapshots to restore machines to the exact state it was in that previous point in time. By default, Windows creates new snapshots at every important event (app installation, major update, etc. so if you haven’t changed the default behavior, you should have plenty of snapshots to choose from.
But before you start using System Restore to restore your computer state to a previous point in time, keep in mind that all changes made after the snapshot was created will be lost. This means that any app installation, established user preferences and anything else enforced during that time will be reverted.
If you decide to try and fix the 0x1000007e error by doing a system restore, here’s a step-by-step guide through the whole thing:
- Open up a Run dialog box by pressing Windows key + R. Inside the text box, type “rstrui” and press Enter to open up the System Restore wizard.
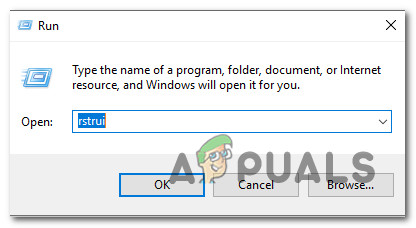
Opening the System Restore wizard via Run box - Once you’re inside the System Restore wizard, click Next at the initial prompt to advance to the next menu.

Getting past the initial screen of System Restore - Next, proceed by selecting a restore point that is dated before the apparition of the annoying 0x1000007e error and click Next to advance to the final menu.
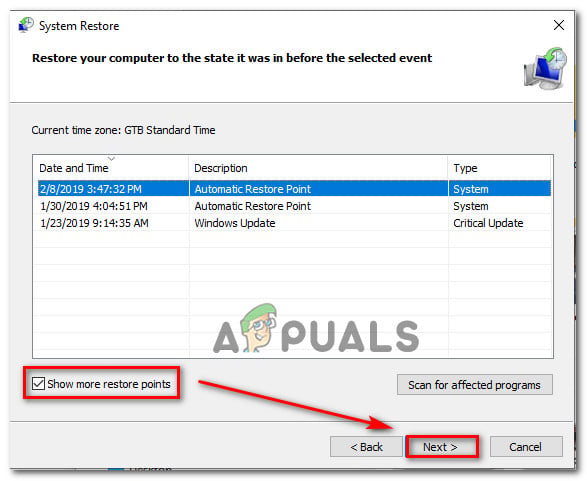
Restoring your system to a previous point in time Note: All changes you made after the snapshot was created will be lost if you go forward with the next step.
- To start the restoring process, click Finish, then click Yes at the confirmation prompt to start the restoring process.
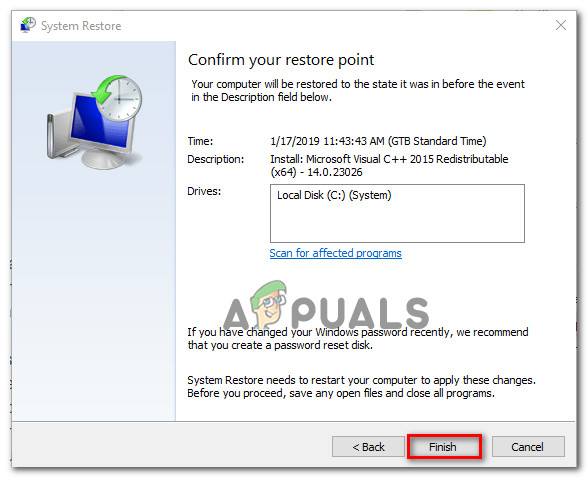
Starting the System Restore process - After several seconds, your computer will restart and the new state will be enforced at the next system startup. Once the old state is enforced, see if the same 0x1000007e error is still occurring.
If you’re still experiencing random BSODs even after using System Restore, move down to the next method below.
Method 6: Performing a repair / clean install
If none of the methods below have allowed you to resolve the BSOD crashes pointing towards the 0x1000007e error, it’s clear that you’re system is suffering from an underlying problem that cannot be resolved conventionally. In this case, the only viable fix that will treat the issue in every scenario where the problem is occurring due to a software component is to reset every OS component.
Several Windows users that found themselves in a similar scenario have reported that they finally managed to resolve the issue either by going for a clean install or by performing an in-place repair (repair install).
A repair install (in-place repair) is a longer procedure, with the major advantage that it allows you to keep all your data including applications, games, user preferences, and personal media.
On the other hand, a clean install is simple and effective, but be prepared for a total data loss unless you don’t back up your data before initiating this procedure. All your personal files (personal media, applications, games, user preferences, etc.) will be lost after a clean install.
If you’ve performed one of the procedures above and you’re still having the same kind of BSOD crash, you can conclude that the issue is occurring due to a hardware component. In this case, the ideal way of resolving the issue is to take your PC to a certified technician.