The Stunning DIY You Need To Cover Up Popcorn Ceilings On A Budget
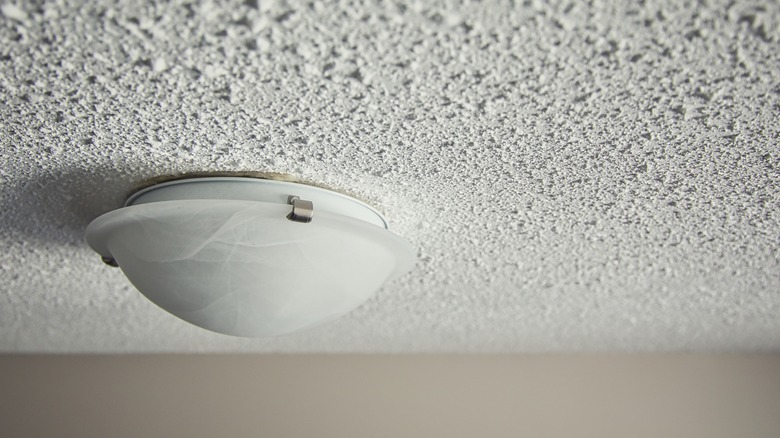
There is an infinite charm in buying older homes, but you may find yourself with some unwelcome elements mucking up your planned design scheme. Common eyesores like outdated doors or unattractive ceilings are often overlooked in favor of much more fun updating projects like new flooring and painted walls. Popcorn ceilings, once a hallmark of mid-to-late 20th-century homes, may be one of the biggest challenges, as replacing them with smooth plaster or drywall often involves lots of labor and cost. They also may harbor unsafe asbestos in homes built before the 1980s, which could be a hazard when disturbed or removed. TikTok user @swayandsarahbuild came up with an ingenious and very budget-friendly cover-up that not only hides the popcorn but creates a stunning wood-paneled look that rivals much more luxurious remodels.
While it gives the look of a much more expensive wood paneled ceiling, all this DIY involves is sheets of 1/4-inch plywood cut into 4-inch stripes and applied directly to the ceiling itself. With the budget for an entire vaulted ceiling of around $1,200 in materials, it is a far more price-friendly option than wood planks, which could cost several thousand dollars to install. Even better, this solution works perfectly to cover up unsightly popcorn ceilings with no messy scraping and removal required. It's also much lighter than wood planking, which can be important when you are dealing with older structures where weight loads on the ceilings and frame could be an issue.
How to create a plywood paneled ceiling
TikTok user @swayandsarahbuild rented a table saw to cut the plywood into 4-inch strips that they use to cover the ceiling. While you do not need to scrape away the popcorn to install the new boards, make sure the ceiling is clean and dust-free. You can also paint the whole ceiling black beforehand, which gives a little depth to what peeks through between each panel. Prepare the plywood strips by sanding them, removing sawdust, and staining in your desired stain.
After the ceiling is dry and the plywood strips are ready, you can begin applying them directly to the ceiling using Liquid Nails. Per @swayandsarahbuild, use another strip of plywood as a guide to help you get the boards placed evenly part. For a vaulted ceiling, begin by starting at the highest part and working downward. For a flat ceiling, pick a side to start and move across the room. Once the panels are in place, use a brad nail gun to secure them every few feet along the length of each piece.
Customizing your plywood ceiling

While @swayandsarahbuild opted to leave their plywood stained and natural, this is also a great way to get a trendy painted shiplap look for your ceiling with a lower price point and easier installation. Just sand and paint your plywood as desired before installing it on the ceiling. Popular colors for ceiling shiplap are white, black, and gray, but you can use the shade of your choice for a pop of unexpected color that will accentuate a room. You can also customize the width of your strips to be either thinner or thicker to fit your aesthetic.
If you love the look and budget-friendly price tag but are looking for a less labor-intensive process, consider using plywood sheets that are already scored to resemble wood planks. These can be attached to the ceiling with a simple grid of 2x4s screwed directly into the ceiling studs and joists. Use nails or screws to affix the plywood sheeting over the installed framework. This is less permanent than affixing the panels directly to the ceiling, making them more removable if you change your mind or renovate down the line.
If you plan to follow @swayandsarahbuild's steps, check out 5 tips to help you safely use a table saw.